How to setup an Authorized Payer
1. Log in to your myDMACC account.
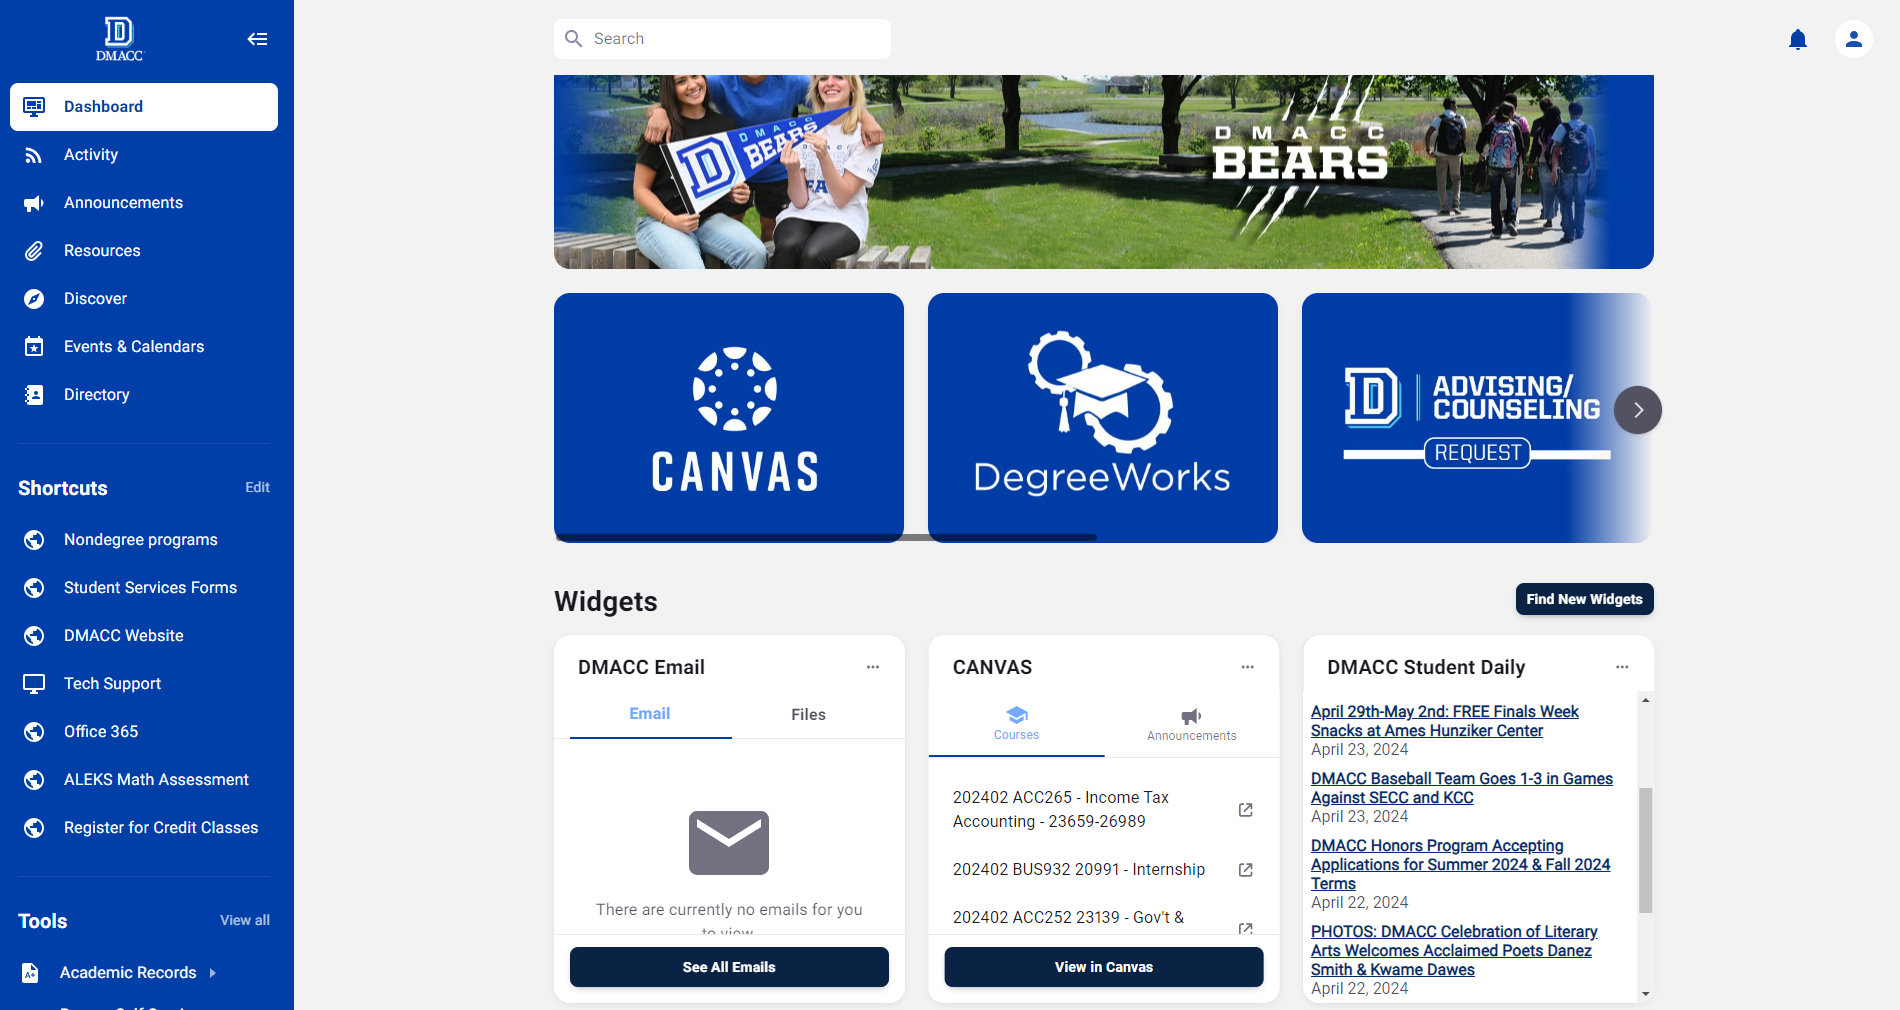
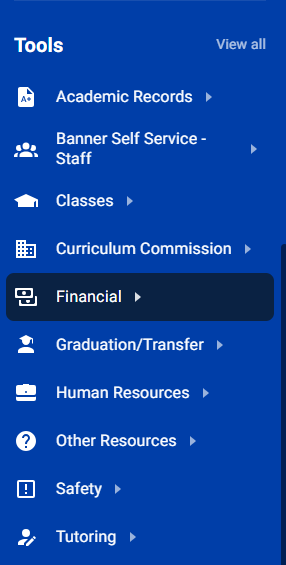
2. On the left side of the screen in the blue navigation list, scroll down to the section named
Tools. Under the Tools header, click on
Financial.
3. In the list under the Financial section, click
Account Detail for Term. This should re-direct you to your Account Detail screen.
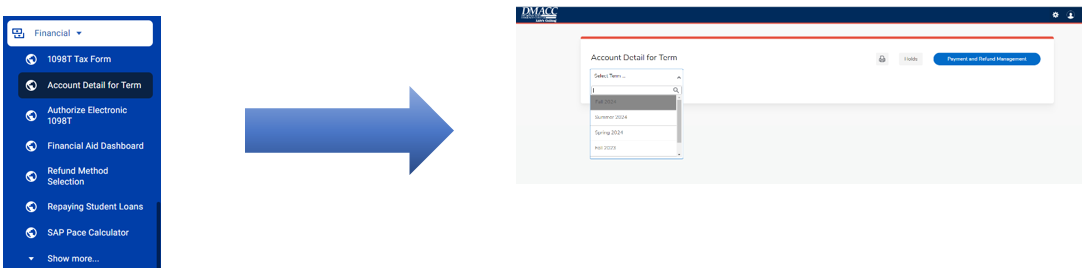
4. From the Account Detail screen, you can view your current balance.
5. To setup an authorized payer, click on the
Payment and Refund Management button. This will direct you to our payment processing site via Nelnet Business Solutions.
6. On your first visit, follow the prompts to setup your payment profile.
7. After creating your profile, select the
My Profile option from the navigation menu on the upper left of your screen.
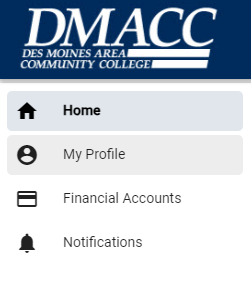
8. From your profile screen, click the
Add button next to Manage Payers.

Complete the enrollment form on the next screen and your new authorized payer will receive an email with login and setup information.